alfonsosanchezbeato
on 18 June 2019
Your first robotic arm with Ubuntu Core, coming from Niryo
Please note that this blog post has out technical information that may no longer be correct. For latest updated documentation about robotics in Canonical please visit https://ubuntu.com/robotics/docs.
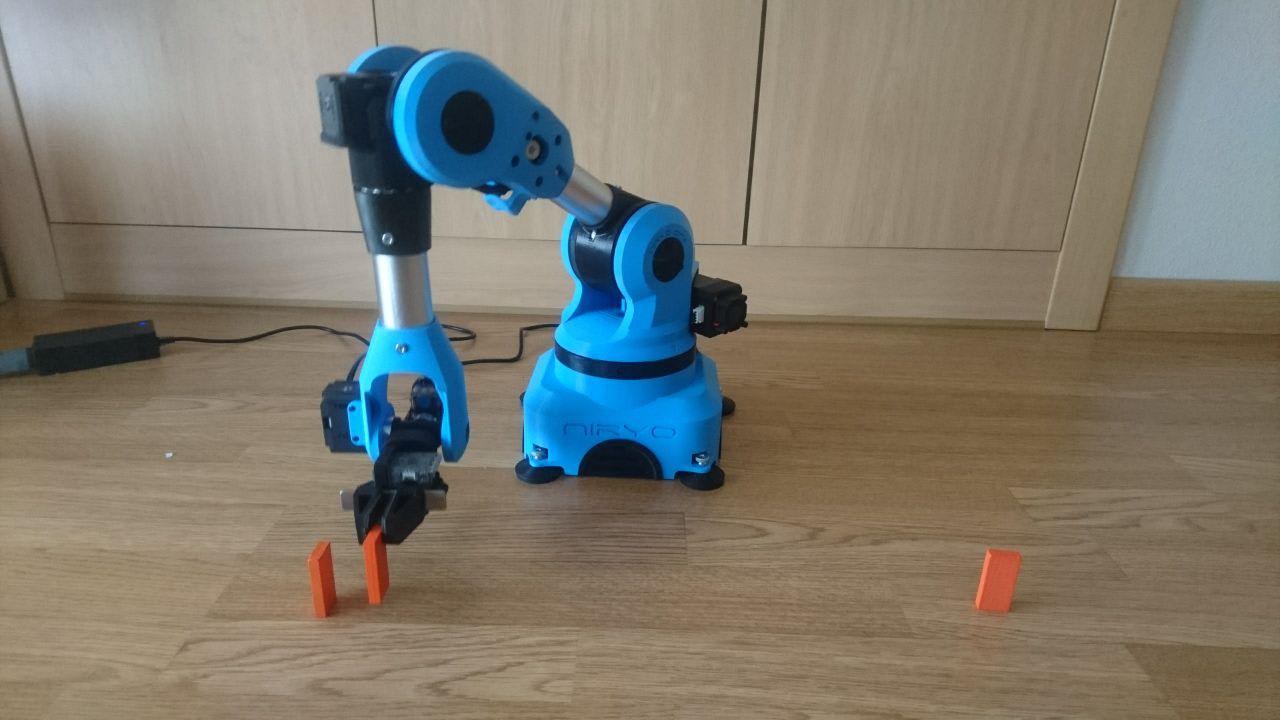
Niryo has built a fantastic 6-axis robotic arm called ‘Niryo One’. It is a 3D-printed, affordable robotic arm focused mainly on educational purposes. Additionally, it is fully open source and based on ROS. On the hardware side, it is powered by a Raspberry Pi 3 and NiryoStepper motors, based on Arduino microcontrollers. When we found out all this, guess what we thought? This is a perfect target for Ubuntu Core and snaps!
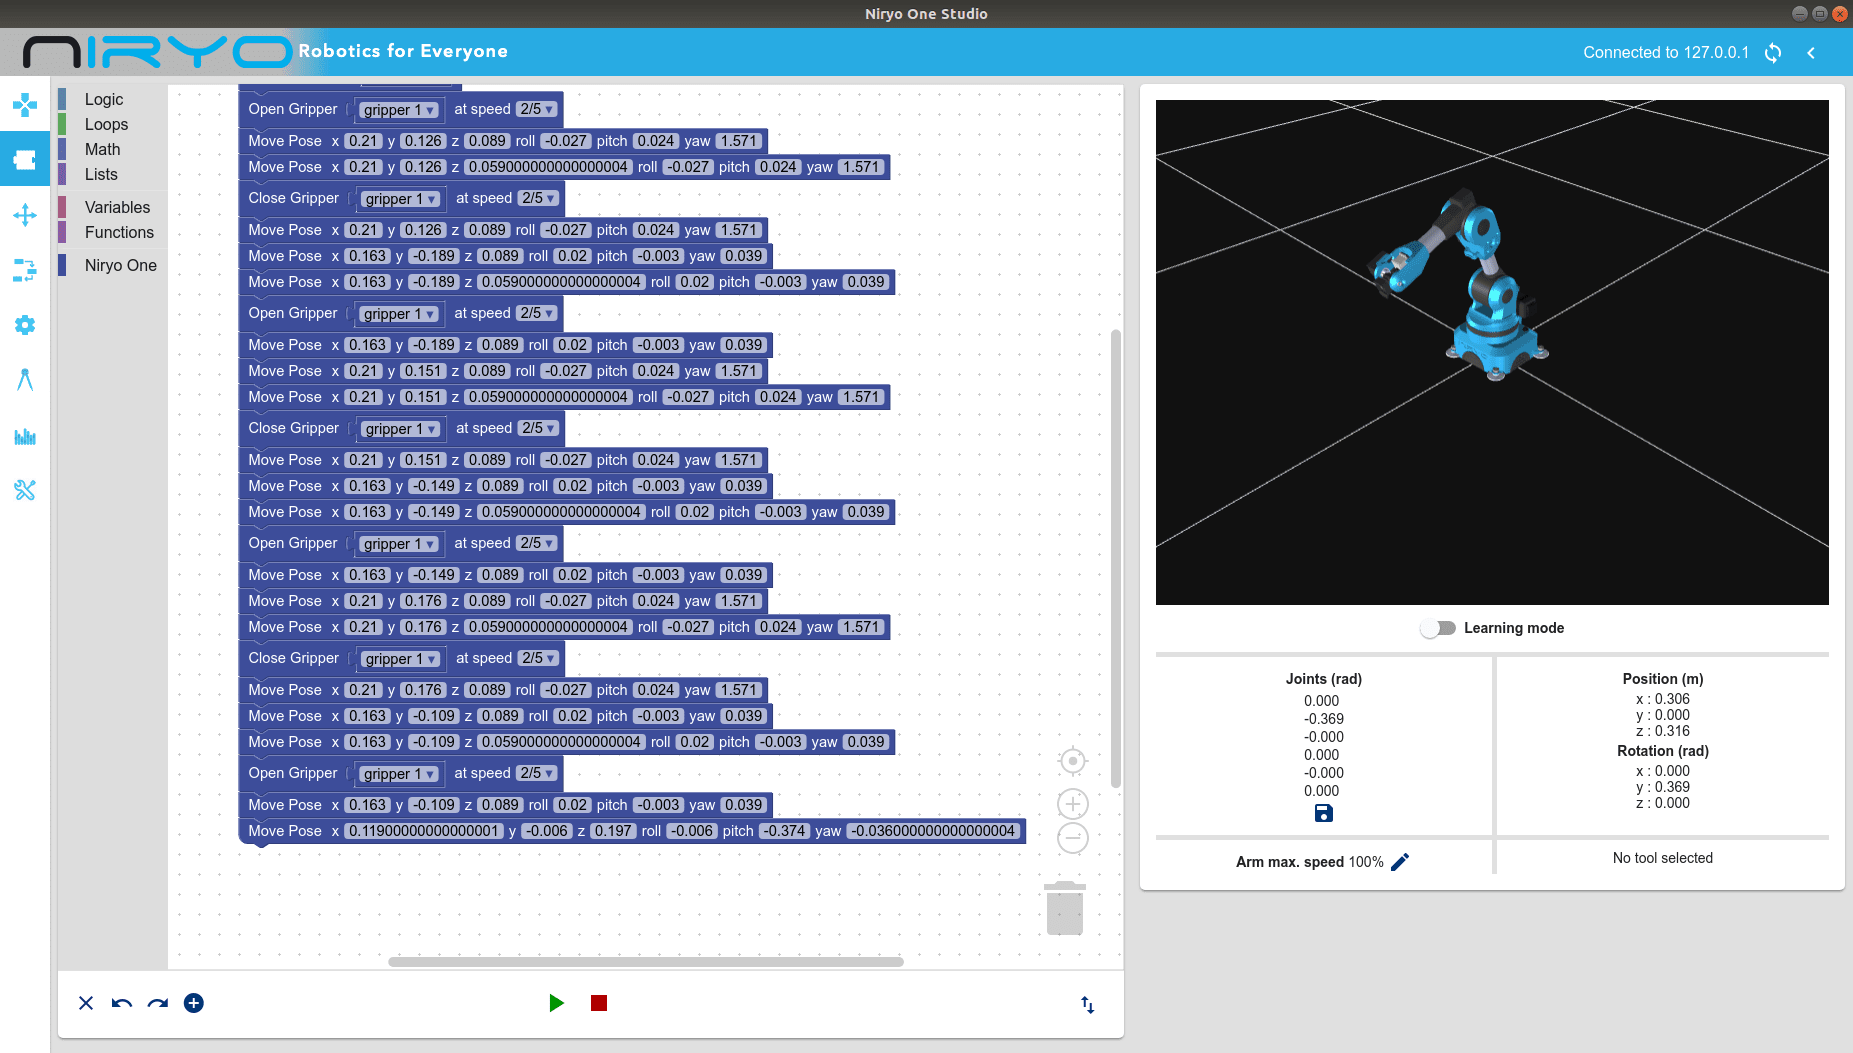
When the robotic arm came to my hands, the first thing I did was play with Niryo Studio; a tool from Niryo that lets you move the robotic arm, teach sequences to it and store them, and many more things. You can programme the robotic arm with Python or with a graphical editor based on Google’s Blocky. Niryo Studio is a great tool that makes starting on robotics easy and pleasant.

After this, I started the task of creating a snap with the ROS stack that controls the robotic arm. Snapcraft supports ROS, so this was not a difficult task: the catkin plugin takes care of almost everything. However, as happens with any non-trivial project, the Niryo stack had peculiarities that I had to address:
- It uses a library called WiringPi which needs an additional part in the snap recipe.
- GCC crashed when compiling on the RPi3, due to the device running out of memory. This is an issue known by Niryo that can be solved by using only two cores when building (this can be done by using
-j2 -l2make options). Unfortunately we do not have that much control when using Snapcraft’scatkinplugin. However, Snapcraft is incredibly extensible so we can resort to creating a local plugin by copying around thecatkinplugin shipped with Snapcraft and doing the needed modifications. That is what I did, and thecatkin-niryoplugin I created added the-j2 -l2options to the build command so I could avoid the GCC crash. - There were a bunch of hard coded paths that I had to change in the code. Also, I had to add some missing dependencies, and there are other minor code changes. The resulting patches can be found here.
- I also had to copy around some configuration files inside the snap.
- Finally, there is also a Node.js package that needs to be included in the build. The
nodejsplugin worked like a charm and that was easily done.
After addressing all these challenges, I was able to build a snap in an RPi3 device. The resulting recipe can be found in the niryo_snap repo in GitHub, which includes the (simple) build instructions. I went forward and published it in the Snap Store with name abeato-niryo-one. Note that the snap is not confined at the moment, so it needs to be installed with the --devmode option.
Then, I downloaded an Ubuntu Core image for the RPi3 and flashed it to an SD card. Before inserting it in the robotic arm’s RPi3, I used it with another RPi3 to which I could attach to the UART serial port, so I could run console-conf. With this tool I configured the network and the Ubuntu One user that would be used in the image. Note that the Nyrio stack tries to configure a WiFi AP for easier initial configuration, but that is not yet supported by the snap, so the networking configuration from console-conf determines how we will be able to connect later to the robotic arm.
At this point, snapd will possibly refresh the kernel and core snaps. That will lead to a couple of system reboots, and once complete those snaps will have been updated. After this, we need to modify some files from the first stage bootloader because Niryo One needs some changes in the default GPIO configuration so the RPi3 can control all the attached sensors and motors. First, edit /boot/uboot/cmdline.txt, remove console=ttyAMA0,115200, and add plymouth.ignore-serial-consoles, so the content is:
dwc_otg.lpm_enable=0 console=tty0 elevator=deadline rng_core.default_quality=700 plymouth.ignore-serial-consoles
Then, add the following lines at the end of /boot/uboot/config.txt:
...
# For niryo
init_uart_clock=16000000
dtparam=i2c1=on
dtparam=uart0=on
Now, it is time to install the needed snaps and perform connections:
snap install network-manager
snap install --devmode --beta abeato-niryo-one
snap connect abeato-niryo-one:network-manager network-manager
We have just installed and configured a full ROS stack with these simple commands!

Finally, insert the SD card in the robotic arm, and wait until you see that the LED at the base turns green. After that you can connect to it using Niryo Studio in the usual way. You can now handle the robotic arm in the same way as when using the original image, but now with all the Ubuntu Core goodies: minimal footprint, atomic updates, confined applications, app store…
As an added bonus, the snap can also be installed on your x86 PC to use it in simulation mode. You just need to stop the service and start the simulation with:
snap install --devmode --beta abeato-niryo-one
snap stop --disable abeato-niryo-one
sudo abeato-niryo-one.simulation
Then, run Niryo Studio and connect to 127.0.0.1, as simple as that – no need at all to add the ROS archive and install manually lots of deb packages.
And this is it – as you can see, moving from a ROS debian based project to Ubuntu Core and snaps is not difficult, and has great gains. Easy updates, security first, 10 years updates, and much more, is a few keystrokes away!


